Introduction to Baby Feeding 1 to 12 months
Introducing your baby to solid foods is an exciting milestone that lays the foundation for healthy eating habits. The process is about nutrition and learning new tastes, textures, and self-feeding skills. Understanding your baby’s nutritional needs, the stages of feeding, and how to safely prepare homemade baby food can help make this transition smooth and enjoyable for you and your child.
Understanding Baby’s Nutritional Needs
In the first year, breast milk or iron-fortified formula remains the primary source of nutrition for babies. Solid foods are introduced to complement replacement milk feeds, providing additional nutrients and helping babies develop eating skills 1.
Key Nutritional Points:
- Iron and Zinc: As babies’ iron stores begin to deplete around 6 months, foods rich in iron and zinc (such as meats, beans, and fortified cereals) become important, especially for breastfed infants 2.
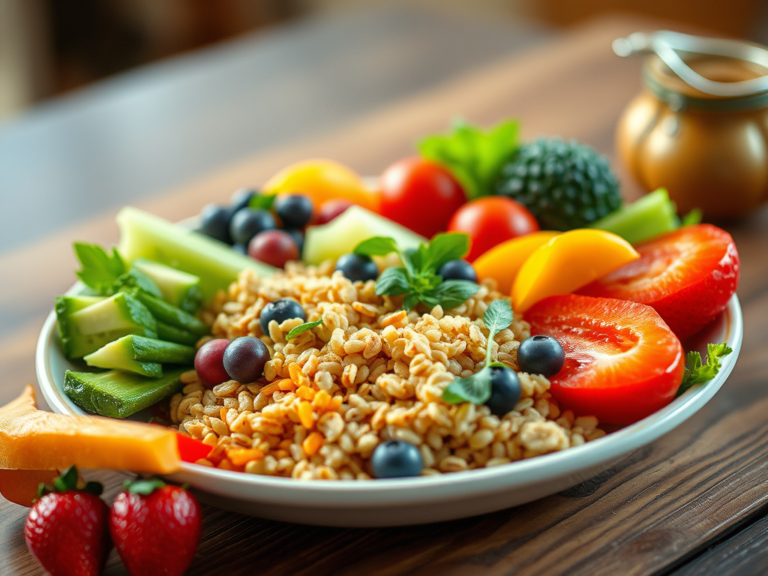
- Variety: Offer a range of foods from all food groups- vegetables, fruits, grains, proteins, and dairy (after 12 months)-to ensure balanced nutrition and expose your baby to different flavors and textures 3.
- What to Avoid: Do not give honey (risk of botulism) or cow’s milk (before 12 months), and avoid foods with added sugars, salt, or choking hazards like whole nuts and grapes 4.
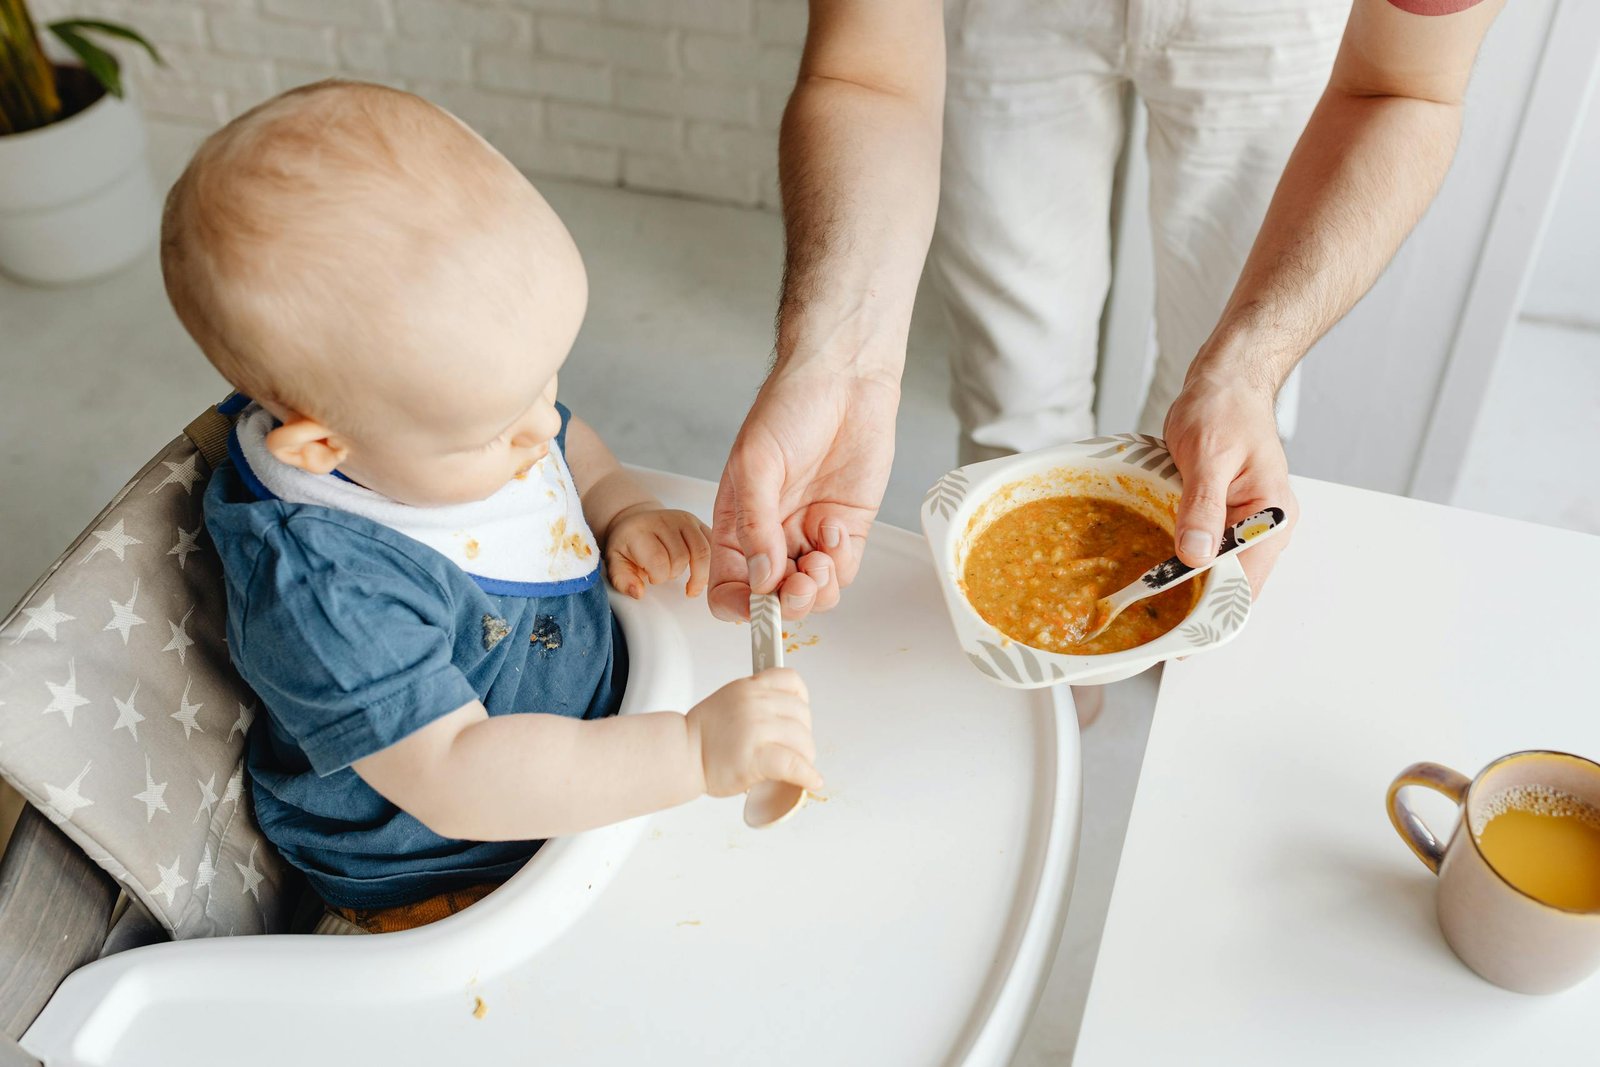
Responsive Feeding:
- Feed your baby in a distraction-free, pleasant environment.
- Learn and respond to hunger and fullness cues-such as reaching for food, turning away, or closing the mouth 3.
- Never force your baby to finish a meal; let their appetite guide you.
Feeding Stages (Stage 1, Stage 2, Stage 3)
The journey from milk to table foods is typically divided into three stages, each designed to match your baby’s developmental readiness and skills 5.
Stage 1: Purees (4 to 6 months)
- What: Smooth, single-ingredient purees (e.g., pureed carrots, apples, or iron-fortified cereal).
- Signs of Readiness: Good head control, interest in food, ability to move food from spoon to throat, and loss of tongue-thrust reflex 2.
- How: Start with 1–2 teaspoons once a day and gradually increase as tolerated.
Stage 2: Thicker Consistency (6 to 9 months)
- What: Thicker purees and mashed foods, often combining two or more ingredients. Small, soft lumps may be included.
- How: Increase the variety of foods and textures, offering 2–3 meals per day.
- Skills: Babies may start to self-feed with fingers and show more interest in family foods 8.
Stage 3: Soft, Chewable Chunks (9 to 12 months)
- What: Soft, chewable pieces and finger foods (e.g., small pieces of cooked vegetables, pasta, shredded meat).
- How: Offer a wide variety of foods and textures, including most family foods (without added salt or sugar).
- Skills: Babies develop the pincer grasp, self-feeding abilities, and can manage more than one texture in a meal 5.
- Transition: By 12 months, most babies can eat chopped versions of family meals and drink from a cup 5.
Tools and Tips for Making Homemade Baby Food
Homemade baby food is an economical and customizable way to introduce your baby to fresh flavors and wholesome ingredients. You don’t need specialized equipment-many common kitchen tools work well 6.
Essential Tools
- Blender or Food Processor: For smooth purees and larger batches 6.
- Hand Blender (Immersion Blender): Convenient for pureeing small amounts directly in the pot 7.
- Steamer Basket: Softens vegetables and fruits for easier mashing or blending 7.
- Fork or Potato Masher: Perfect for mashing soft foods like bananas, avocados, or cooked sweet potatoes 7.
- Strainer or Sieve: Helps achieve extra-smooth textures for early purees 7.
- Storage Containers or Ice Cube Trays: For portioning and freezing homemade baby food 6.
Tips for Success
- Start Simple: Begin with single-ingredient purees to monitor for allergies.
- Thin as Needed: Adjust consistency with breast milk, formula, or cooking water 6.
- Batch Cook: Prepare larger quantities and freeze in small portions for convenience 6.
- Safe Preparation: Wash hands, utensils, and produce thoroughly. Cook foods until soft and avoid adding salt, sugar, or honey 6.
- Follow Baby’s Lead: Offer new foods repeatedly-even if they’re rejected at first. It can take several tries for a baby to accept a new flavor or texture 3.
By understanding your baby’s nutritional needs, following the natural progression of feeding stages, and using the right tools and techniques, you can help your child develop healthy eating habits and a love for a variety of foods from the very beginning.
References
1. American Academy of Pediatrics. Starting solid foods. HealthyChildren.org. Published August 12, 2022. https://www.healthychildren.org/English/ages-stages/baby/feeding-nutrition/Pages/Starting-Solid-Foods.aspx
2. Feeding Your 4- to 7-Month-Old (for Parents) – Nemours KidsHealth. kidshealth.org. https://kidshealth.org/en/parents/feed47m.html
3. Healthy Eating Research. Ages 0-2 Feeding Recommendations. Healthy Eating Research. https://healthyeatingresearch.org/tips-for-families/ages-0-2-feeding-recommendations/
4. The 3 baby food stages: What foods and when. Care.com Resources. Published December 21, 2021. https://www.care.com/c/the-3-stages-of-baby-food/
5. HSE. Stages of weaning. HSE.ie. Published October 14, 2022. https://www2.hse.ie/babies-children/weaning-eating/weaning/stages/
6. Thomas C. Homemade Baby Food. Homesteading Family. Published February 24, 2024. https://homesteadingfamily.com/homemade-baby-food/
7. How to make baby food: Homemade baby food tips, ingredients, and storage. BabyCenter. Published 2023. Accessed May 1, 2025. https://www.babycenter.com/baby/solids-finger-foods/how-to-make-your-own-baby-food_10415266
8. HSE. Stages of weaning. HSE.ie. Published October 14, 2022. https://www2.hse.ie/babies-children/weaning-eating/weaning/stages/